We Simplify Palworld Server Setup for Epic Multiplayer Action
Iceline Hosting
September 10, 2024 • 7 min read
Palworld is an amazing solo game, but we think it’s more fun to play multiplayer. Something about exploring and surviving with your friends makes it even more exciting. But to get the most out of multiplayer Palworld, you need your own server.
So, in this Iceline Hosting guide, we’ll show you how to start your own Palworld server for smooth multiplayer gameplay.
At Iceline Hosting, we've helped thousands of gamers play with their friends, start communities, and host their own game servers. We understand the importance of a smooth and secure gaming experience—and in this guide, we’re helping you set up a Palworld server that delivers just that.
A Palworld server is a computer setup that enables you to play online multiplayer games with your friends or other members of the Palworld gaming community.
There are three ways of setting up a Palworld server, each with its own advantages and disadvantages:
Like we said, there are two ways to set up a dedicated Palworld server—self-hosted or through a hosting provider.
Here are the steps for both:
There are two ways to run your own Palworld server on your PC:
2. In your Steam Library, search for "Palworld Dedicated Server." If you can't find it, select "Tools" in the upper left filter of your library.

3. Install the Palworld Dedicated Server.
4. Once installed, launch the Palworld Dedicated Server. This will create the necessary configuration files.
5. After the server loads, exit it.
6. In your Steam Library, right-click on "Palworld Dedicated Server" and select "Properties".
7. In the Properties window, select "Installed Files", then click "Browse".
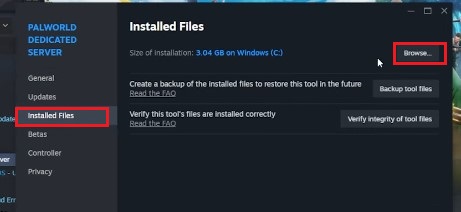
8. In the opened folder, locate and open the "DefaultPalworldSettings.ini" file.
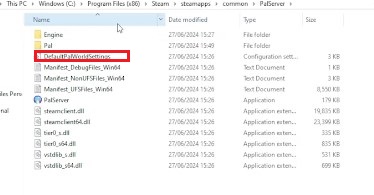
9. In this file, find and copy the settings you want to use for your server. Look for settings related to server name, max players, difficulty, etc.
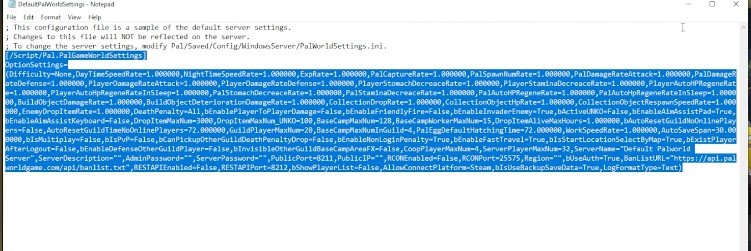
10. Navigate to the following folder path: Pal > Saved > Config > WindowsServer
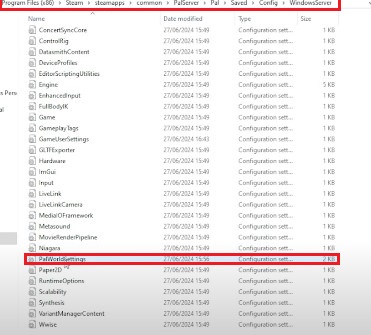
11. In this folder, open the "PalWorldSettings.ini" file.
12. Paste the settings you copied from "DefaultPalworldSettings.ini" into this file.
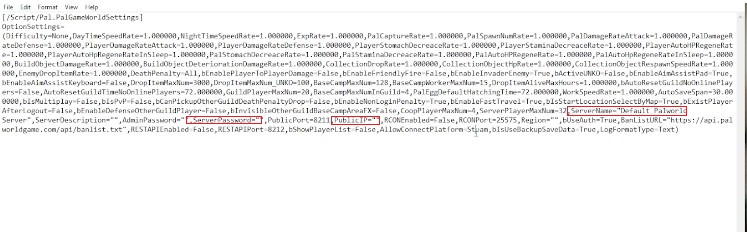
13. Save and close the "PalWorldSettings.ini" file.
14. Your server is now configured and ready to launch. You can either:
15. Launch it directly through Steam, or
16. Run the "PalServer.exe" file in the installation folder.
Once your server is running, you and your friends can connect from the Palworld game using your PC's IP address and port number (e.g. 127.90.65.82:8211, where 127.90.65.82 is your IP address and 8211 is your port number).
Although the name says SteamCMD, you don't have to install Steam for this to work. This method is for PC users who play Palworld outside Steam.
2. Execute the following command in the terminal to download the dedicated server:
steamcmd +login anonymous +app_update 2394010 validate +quit
3. Once the download is finished, go to the download directory. If you've configured an installation directory for SteamCMD, be sure to reference it:
cd .\steamapps\common\PalServer
4. To start the server, execute the PalServer.exe file:
PalServer.exe
5. Configure server as a community server by adding the option to the startup command. Make sure the PalServer part remains unchanged:
PalServer.exe -publiclobby
6. Users can now join your server via the community server page, or using your IP address.
Setting up a Palworld server with Iceline Hosting is by far the easiest and quickest way to get your server up and running.
Here’s how it works:
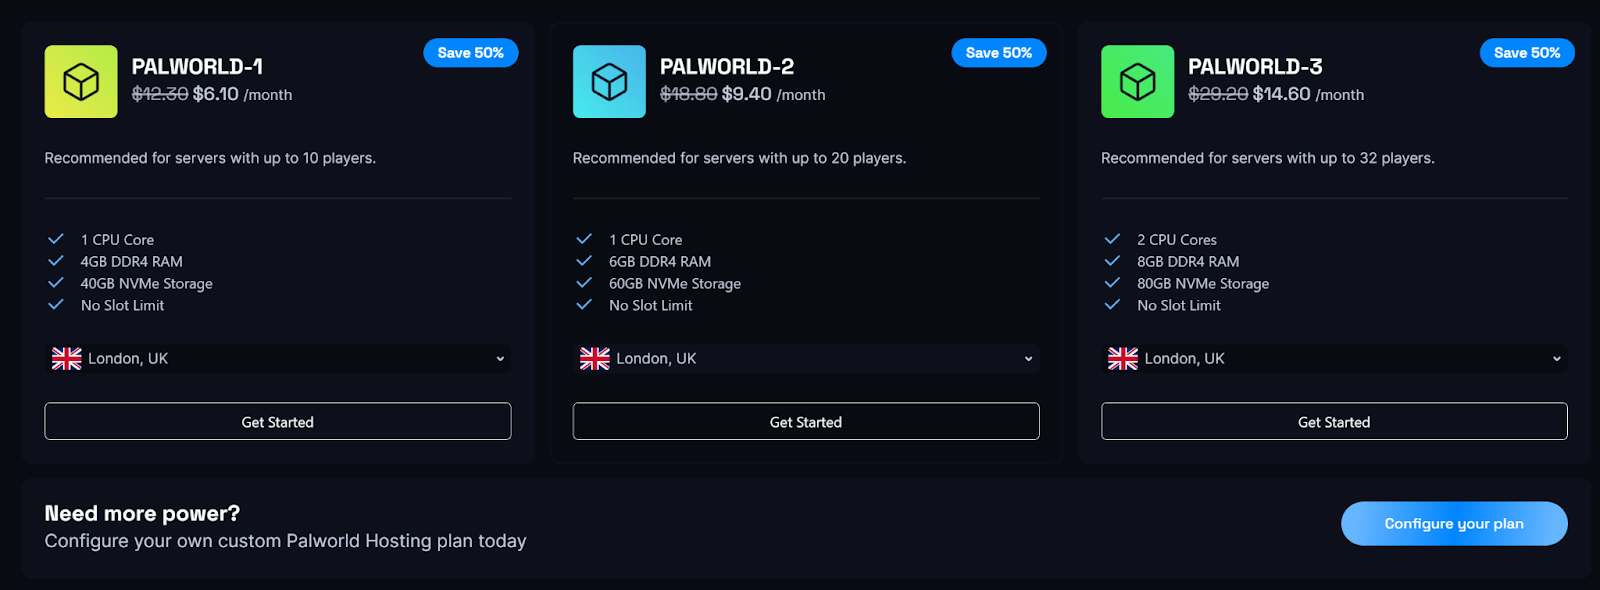
2. Select a plan that offers the features and hardware you’re looking for. Our plans start at just $6.10 per month, and we have a custom option for an especially high-volume or high-performance Palword server.
3. Once you find a plan, hit “Get Started,” and you'll be redirected to the shopping page. Confirm your selection, and click checkout.
4. Create an account, or use your Iceline Hosting account if you already have one.
5. Complete payment and receive login details.
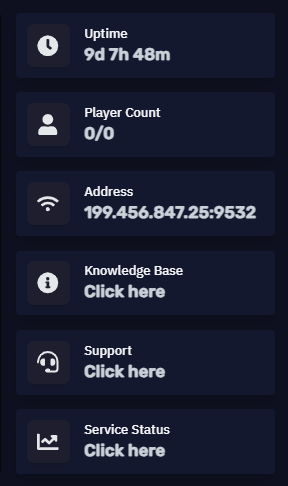
6. Log into your Iceline Hosting game panel:
7. Locate your IP address. It can be found in any of these 3 places:


8. With your IP address, you can now join your Palworld server from the game:
Now you can enjoy Palworld in multiplayer mode with your friends. Just share your server's IP address with them, and they can connect the same way you did.
You can customize and configure your Palworld server right from the Iceline game panel. You can change your server name, set a password, adjust the difficulty level, set a maximum number of players, and a host of other things.
Check out our in-depth guide to Palworld server settings.
Setting up a Palworld server is easy with Iceline Hosting. You get high-performance hardware, 99.9% uptime, DDoS protection, and a simple interface to manage your server—all set up and ready to use in minutes.
Ready to get started? Choose a Palworld server hosting plan and get back into the action.